Many people want to personalize the different locations they choose to map on Google Earth Pro. Once you have imported AggData into Google Earth (as shown in http://www.aggdata.com/how/how-import-aggdata-google-earth-pro ), you can then personalize each type of location with the use of icons that you download or create for your use. The following tutorial teaches you how to use icons to create a personalized map of your AggData.
Step One:
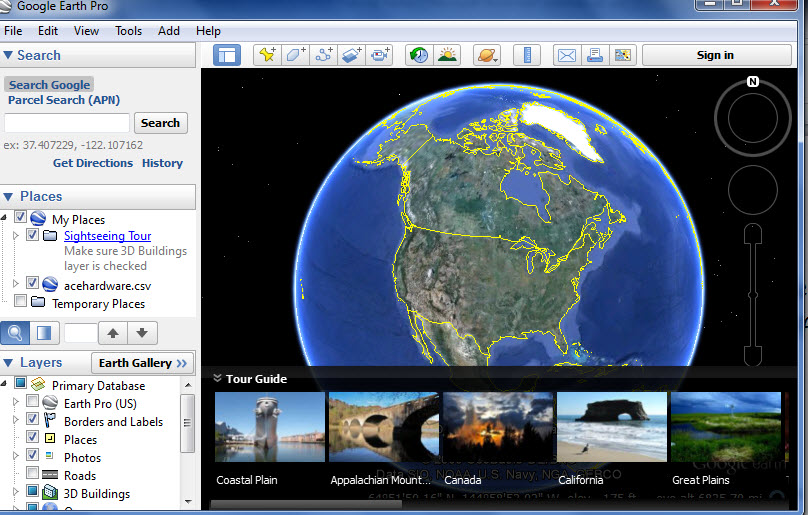
Find the project you want to work on in your My Places Folder. Open the specific file to which you wish to add icons.
Step Two:
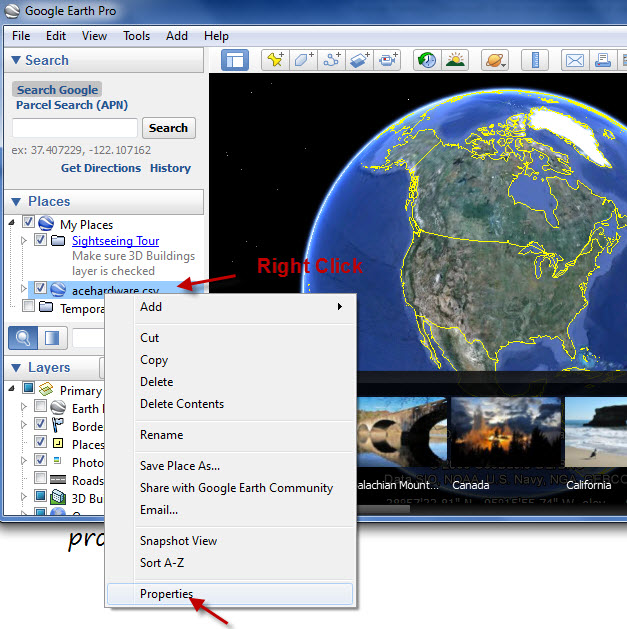
“Right Click” on the desired file then select “Properties” to begin the Icon Selection Process.
Step Three:
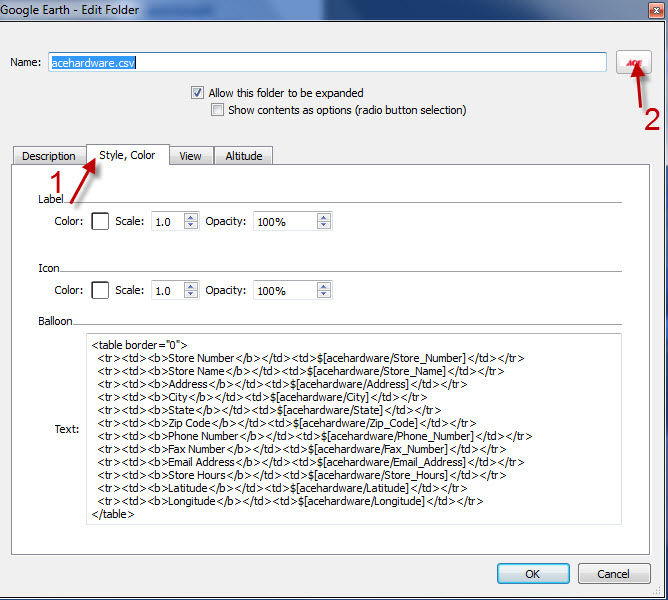
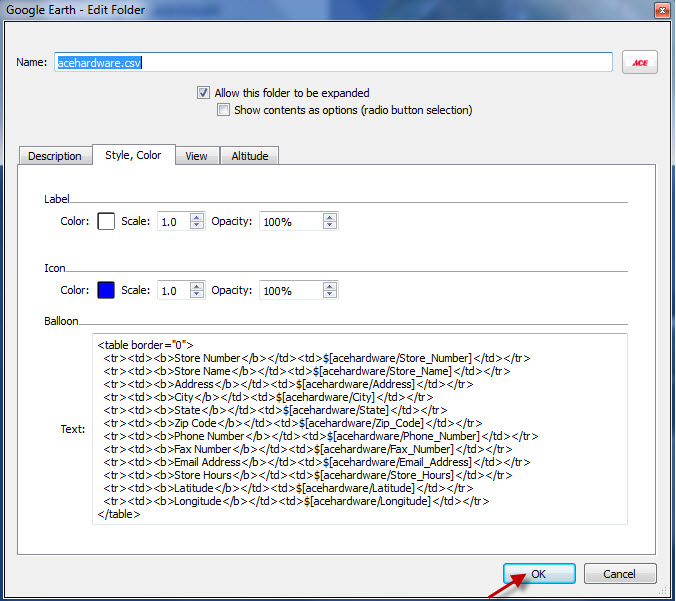
Once the Edit Folder has opened, select the “Style, Color” tab. If you want the Icon to be a specific color, click on the “Color” square to make your selection. Finally click the small box in the upper right corner of the window; this will open the” Icon Selection” window.
Step Four:
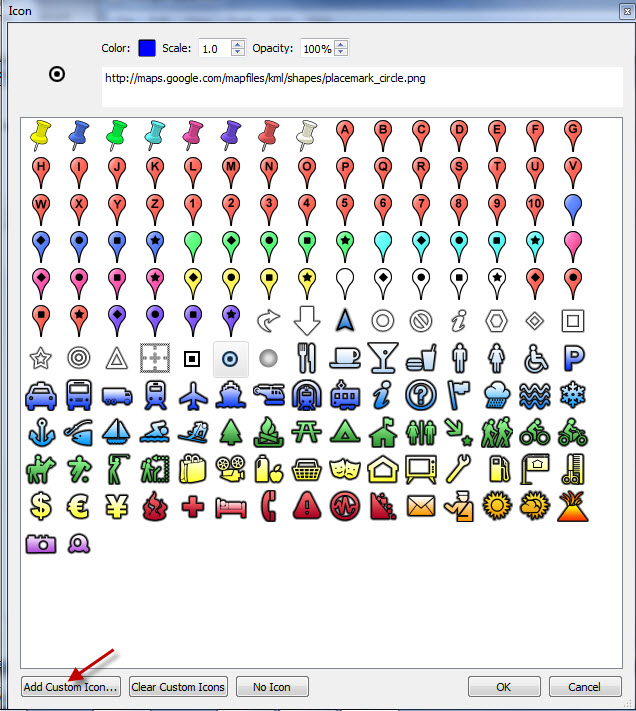
The” Icon Selection” window will open, and you can choose from the available icons shown, or click on “Add Custom Icon” to select an icon you have on your computer.
Step Five:
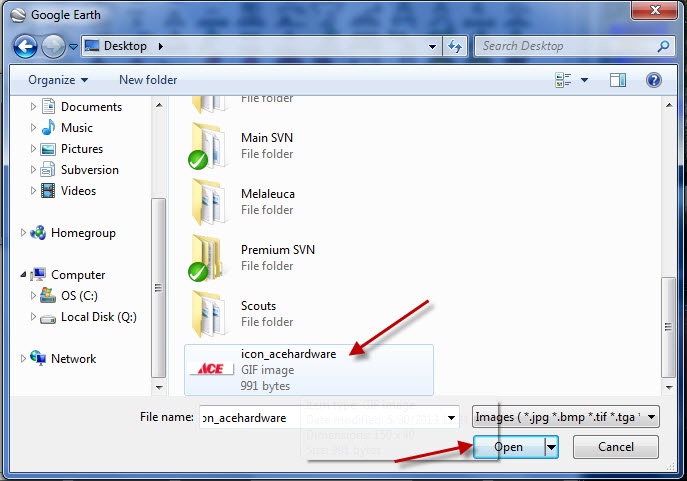
Find the location of the Icon in your computer, and select it for use. Then click on “Open” to apply the icon to your file.
Step Six:
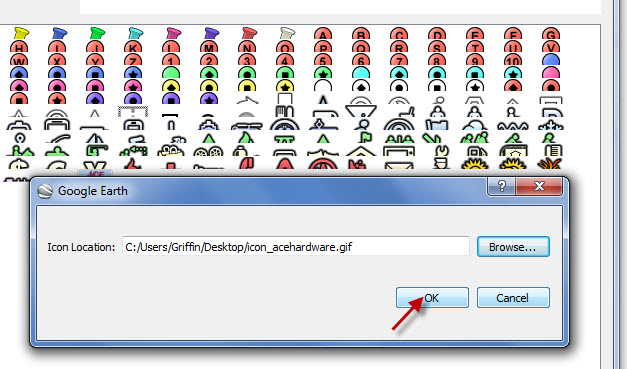
The” Icon Location” bar will show the file you have selected. Click on OK for the program to accept your file.
Step Seven:
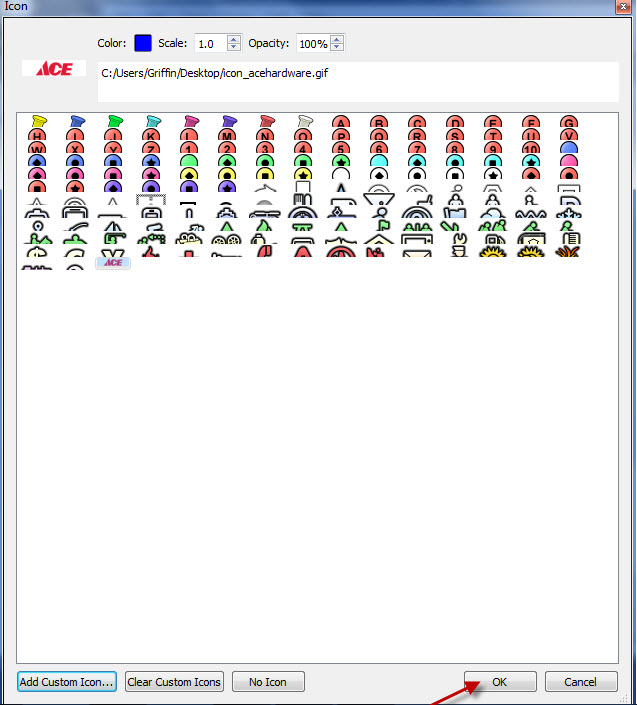
Click OK on the bottom of the “Icon Selection” window to proceed.
Step Eight:
Then click OK on the bottom of the “Edit Folder” window to finalize your icon choice.
Step Nine:
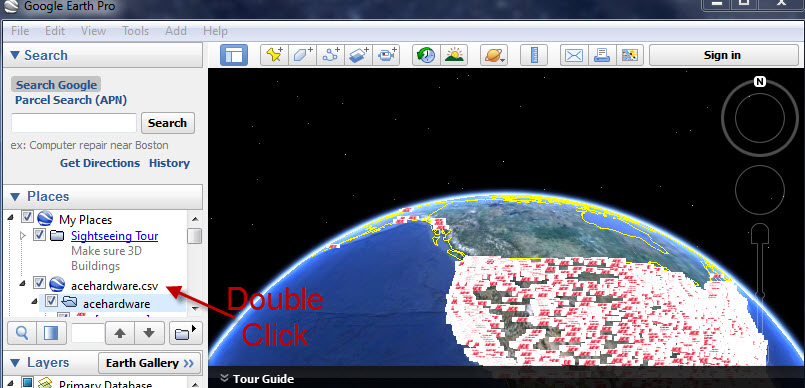
Now Double Click on the file you wish the Icon to populate. The map will now show the locations throughout the world using the icon you selected.
Step Ten:
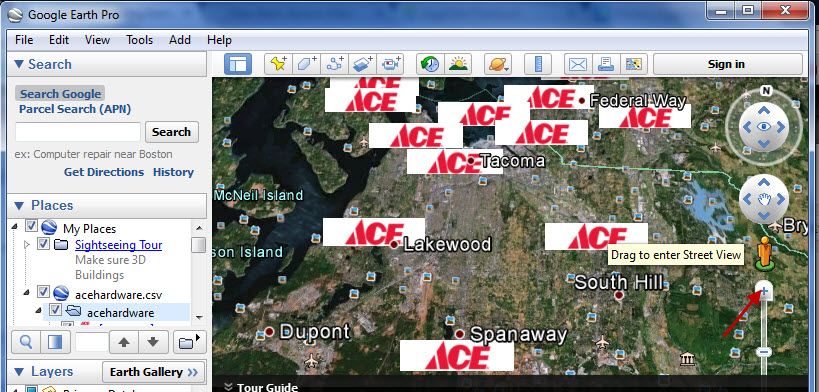
Use the Zoom In feature to see the specific details in any given area of the map.
 Step Eleven:
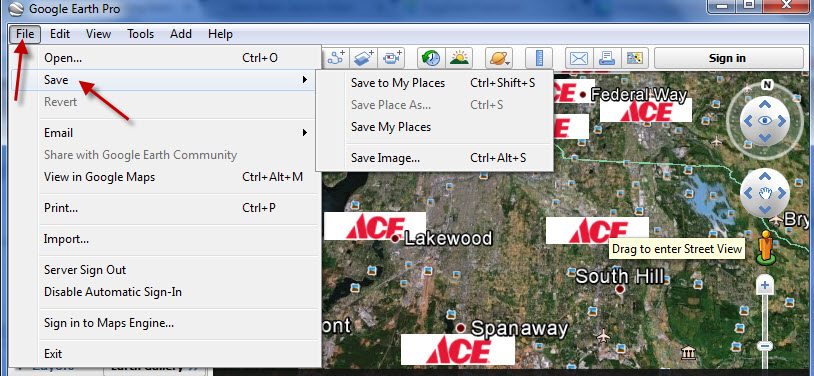
Finally go into File and Save the current map to assure your work will be available for use at a later time.