Once you have received your AggData there are several ways it can be used. In order for AggData to meet your needs, here are a few steps to sort the AggData. First open the AggData in Excel, then go to the top right side on the page and find the Sort and Filter menu.
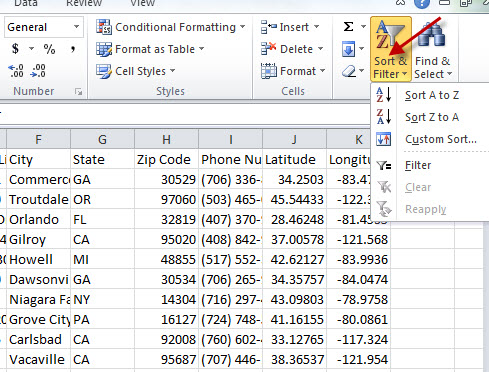
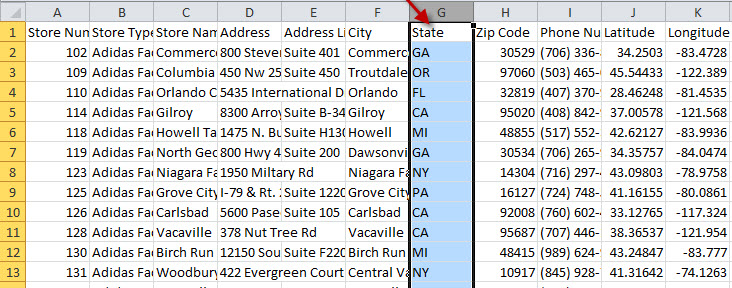
For instance if you would like to sort by State or Province, you would highlight or click the State/Province column and select Sort A – Z from the menu.
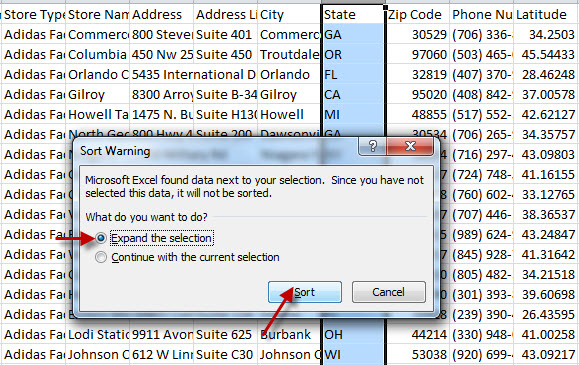
A Sort Warning will pop up to ask you if you want to expand your selection which will keep the other information (address, etc) in each line connected to its own State/Province. You should click the button for Expand the Selection to avoid losing the validity of the AggData.
After you Sort the AggData, it will now be arranged by State, as shown in the example.

If you want to further refine your sort you can use the Custom Sort option. This allows you to sort multiple columns at the same time. To accomplish this go to the Sort and Filter tab and click on Custom Sort.
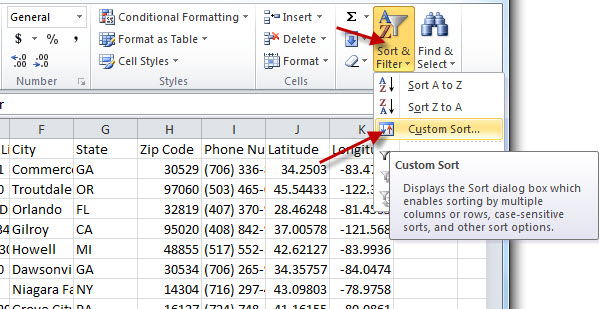
The Custom Sort gives you several options. You can sort and organize your columns in whatever way you want. You can add levels to refine the search according to your needs.
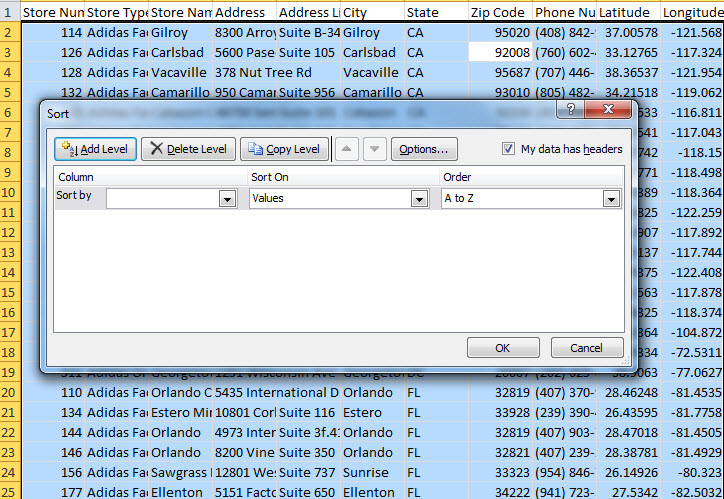
To do a Custom Sort, determine how many levels you would like to sort. Then use the pull down menus on each added level to create your sort. For instance, if you wanted to alphabetize the cities in each state, then you would need to sort by State and then by City.
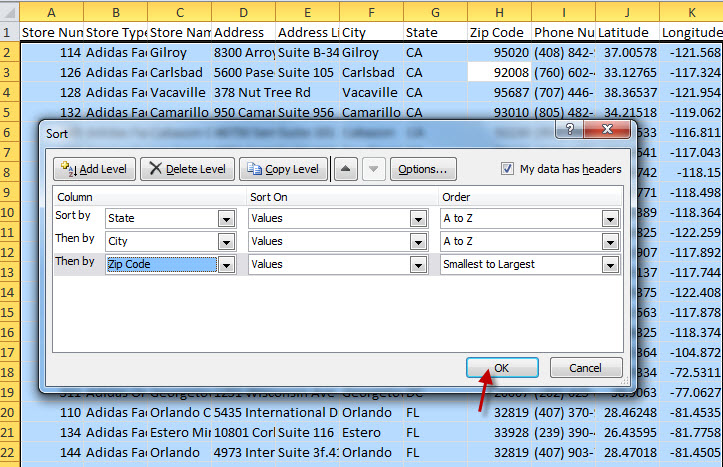
A common Custom Sort is State, City, Zip Code, to assure that the AggData is easily accessible for mailing labels.
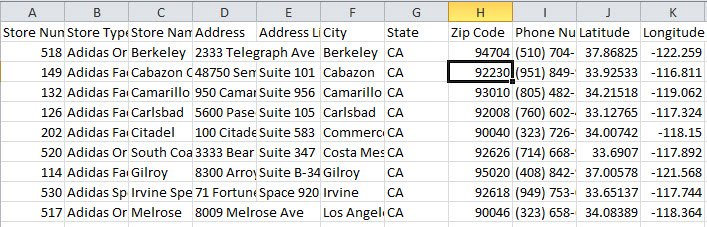
Now the AggData is sorted into organized rows and columns for you to use in whatever application you choose.
